This type of robot, similarly to other types of robots, updates fields, can perform automatic actions when a certain event occurs. For this type of robot, the trigger will be the coming of a certain date.
There are many possible cases of using the robot. For example, you can configure the task assignee to be changed if the deadline is missed and the task is still far from completion. Or another example: a robot can send an email to a client when the client’s birthday comes.
The date that the robot relies on can be taken from any field of the “Date and Time” type on the task form, including system fields like “Start Date” and “End Date”.
Adding and configuring a robot
The setting of the robot “Action on the specified date” is similar to the settings of the robot “Auto calculation and auto-populate fields”, but there are differences in setting the trigger, that is, the conditions under which the robot will be triggered.
To configure the robot “Action at the specified date” you need to follow these steps:
1. Open your business process
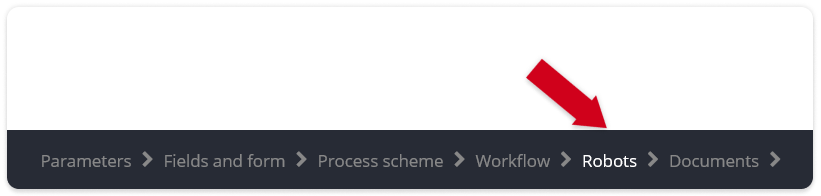
2. Go to the Robots tab
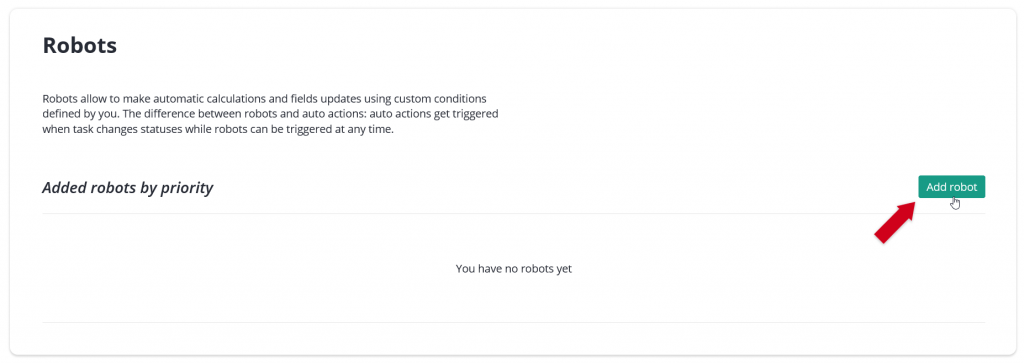
3. Click on the Add Robot button
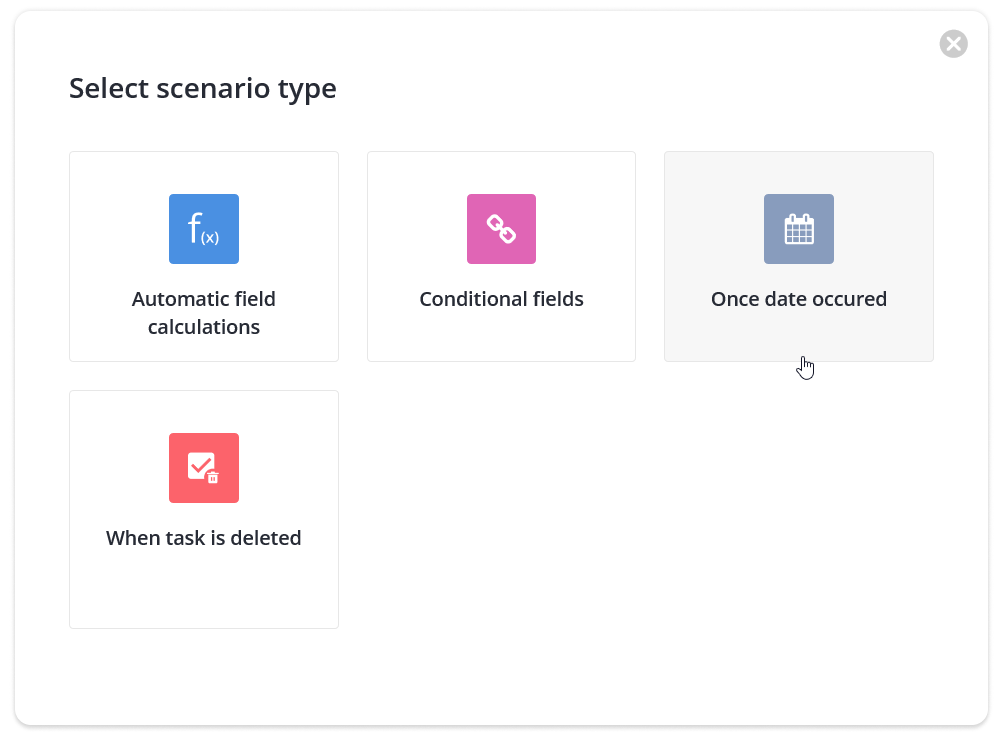
4. Select a robot Once date occurred
5. In the window that opens, you need to set the name of the robot and configure 3 blocks:
| Date on which the robot will be triggered | In this block, you need to select a field with the type “Date and time” / “Only date” / “Only time”. When the date and time in the selected field arrives, the robot will be activated and will populate the fields specified in the “Action” block. |
| And also if the following additional conditions are met | You need to set a condition here for those fields that have not been changed by the user, but logically affect whether the robot needs to update the fields in the “Action” block. |
| The action that will occur as a result of the robot’s execution | In this block, the directly performed action is configured. That is, what fields and with what values should be updated or populated. |
6. Fill in the name of the robot

7. Configure the Date block
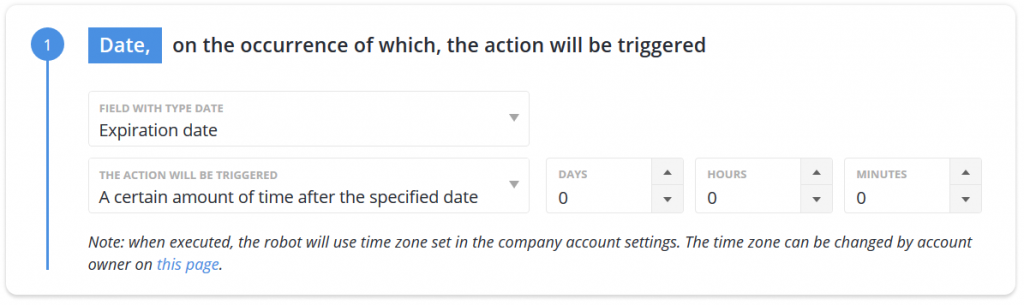
In this block, you need to select a field, when the date arrives the action will be performed, as well as the scenario when the robot should be triggered with respect to this date.
What types of scenarios are avaliable:
| When selected date arrives | The robot will fire exactly at the moment when the date has arrived, for example, the deadline was reached, the task is overdue, the robot will automatically transfer it to another employee or coordinator to fix the potential problem. |
| A certain amount of time after the selected date | Use this option if you need to perform some action a certain amount of time after the date has arrived. For example, the day specified in the “Promotion date” field has already passed, but you want to send a small follow-up after the event. |
| A certain amount of time before the selected date | If you select this option, the robot will be triggered not on the specified date, but the amount of time you specified before it. For example, you can send an automatic letter through the robot 30 days before the expiration of the contract with your counterparty. |
| On the day of the year specified in the date type field (fire annually) | This type of scenario can be used for annual activities and will be triggered on a specific day. |
| A certain amount of time before the day of the year specified in the field (fire annually) | When this option is selected, the robot will also be triggered every year, but not on a specific day of the year, but a certain amount of time before it. For example, you must create a reconciliation report with the client once a year and send it, say, on March 1. With the help of the robot, you can set yourself a reminder 2 weeks before the reporting date. And it will be created every year. |
| A certain amount of time after the day of the year specified in the field (fire annually) | If you choose this scenario, the robot will also be triggered every year, a certain amount of time after a specific day. For example, you collect ready-made reports on sales in retail outlets. A week later, the robot will remind you to contact the heads of the retail outlets with the lowest sales results. |
| At the time specified in the field (works daily) | This type of scenario will be appropriate for daily activities and will be triggered every day at the time specified in the field. For example, once a day, towards the end of the day, create a task to prepare a daily report. |
8. Configure block Also
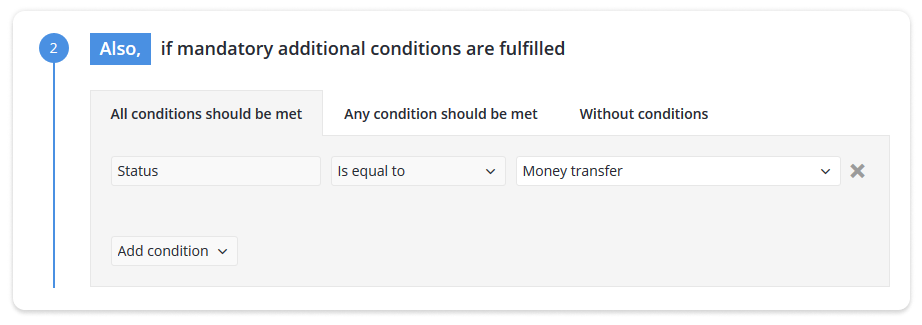
In this block, you set the conditions for those fields that the user has not modified, but the data in them affects whether the robot needs to update or populate the fields.
For example, you want the robot to work in a specified scenario only if the task is in a specific status.
9. Configure the Action block
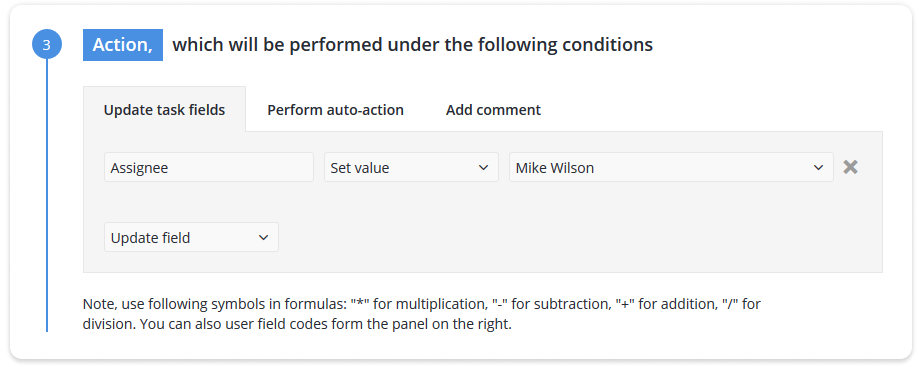
In the Action section, configure which fields will be updated or populated as a result of the robot’s “Action on the specified date” operation.
In addition to updating the fields, you can also choose what automatic action will be performed when the robot is triggered. For example, the system can send an email to the user or create a new task. Auto-actions settings are similar to auto-actions configured in the process diagram.
10. When done, save the robot and the business process model

Ability to add time to date using a robot
When working with dates, sometimes you need to fill in the date in a field using the following logic: “today + 10 days” or “Date of registration of the contract + 3 days”.
To do this, you can use the field codes in the Formulas/dates tab of the time.
For this:
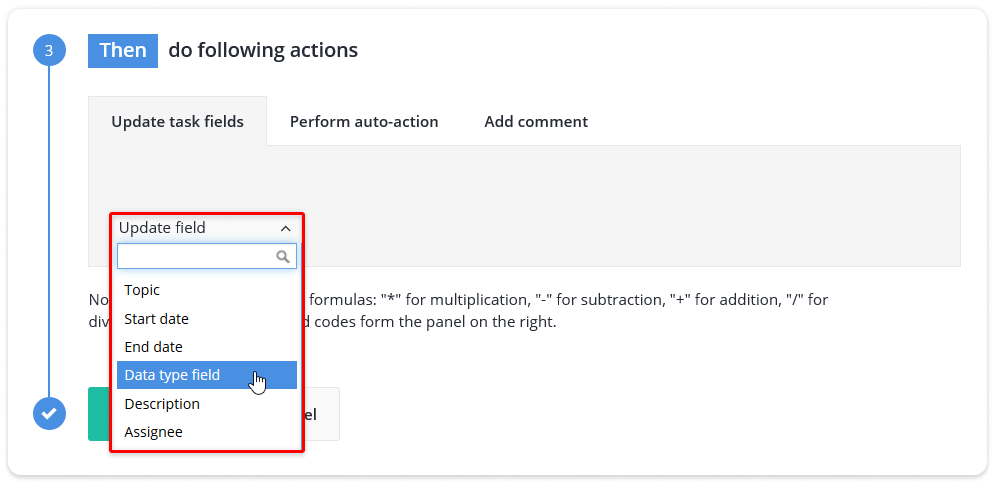
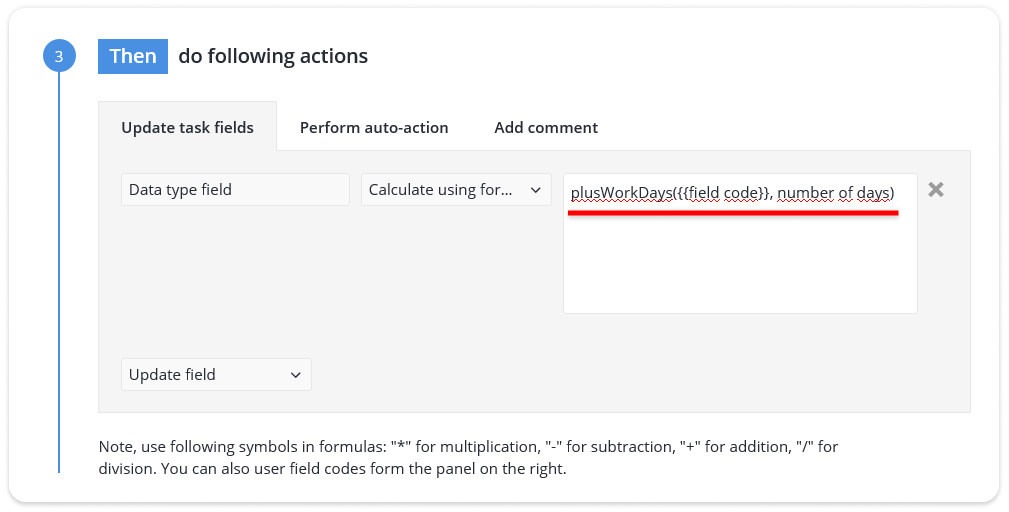
1. In the robot settings, select the field with the Date or Date and time type
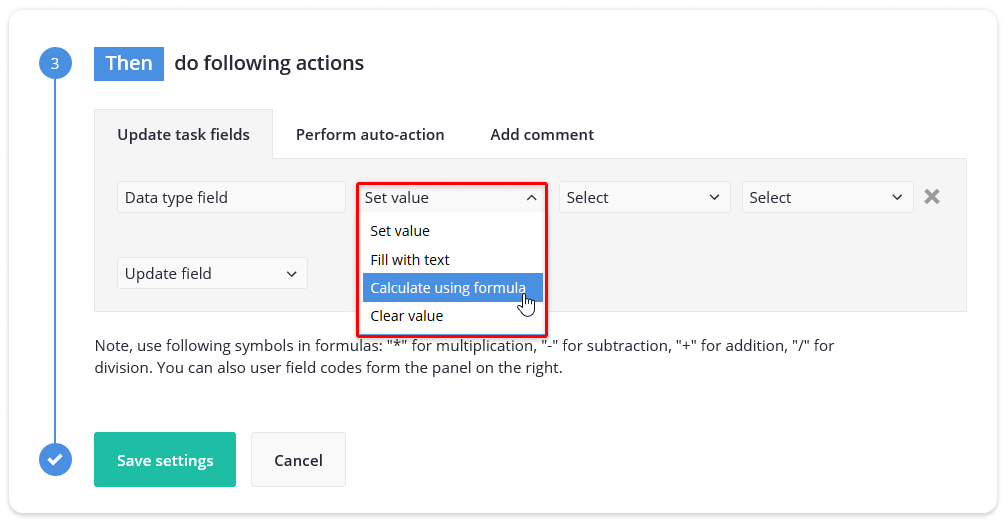
2. Select the Calculate using formula operator
3. From the menu on the right, open the Date / Time Formulas tab. Copy the required code, paste it into the field
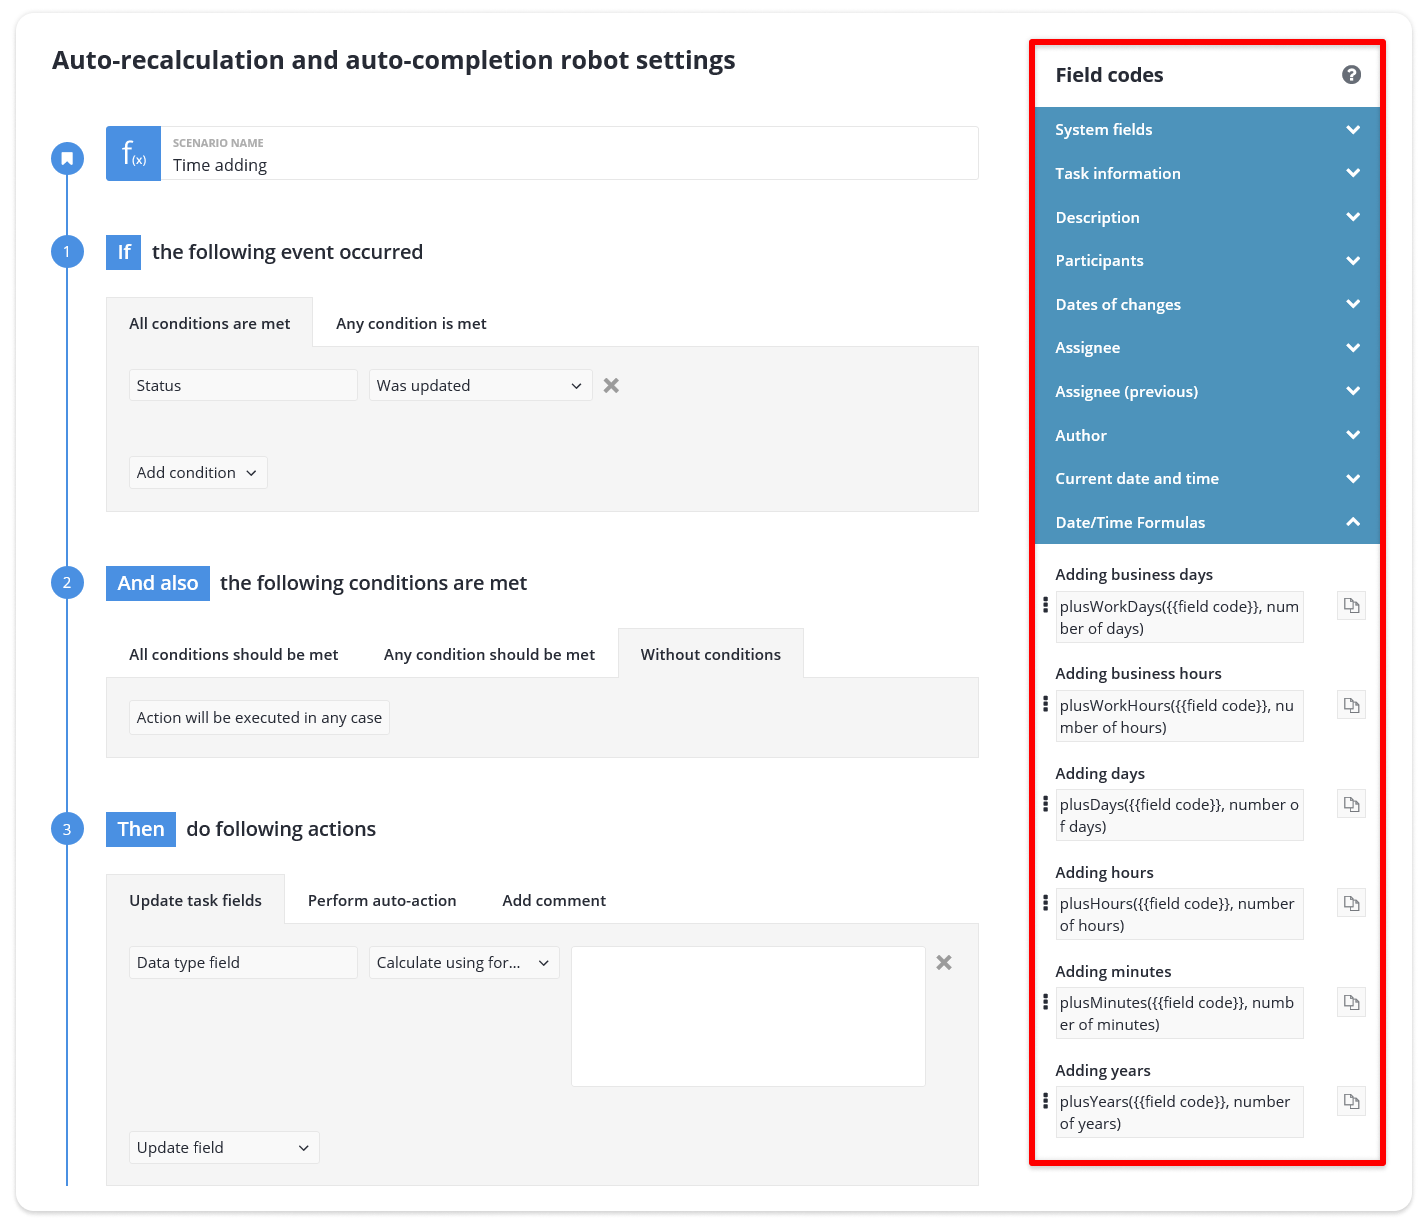
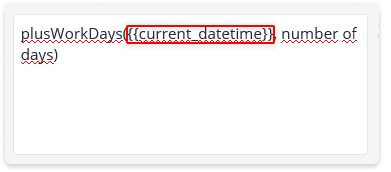
4. You need to replace the ({{field code}} with the code of any Time type field. For example, Current date and time. To do this, open the tab with Current date and time codes and select Date and time. Insert the code in the result

5. Instead of the Number of years / days / hours / minutes, specify the time interval that you want to add
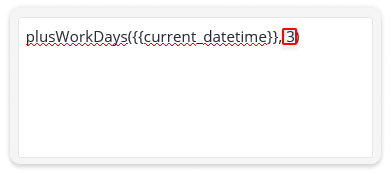
Let’s say you add days. If you enter the value 3, the formula will add +3 days. The general formula will look like this:
plusWorkDays ({{current_datetime}}, 3).
6. We save the robot.
Done! When the conditions of If are met the robot enters the required value in the “Date of next maintenance” field.